Monday, April 27, 2015

DIY: Spring wreath

Wow this took me forever to plan. I finally got it though.

What you'll need:

  • branch wreath
  • flowers
  • butterflies or birds
  • hot glue gun
  • burlap
  • twine


What to do:

First lets make the banner. Draw a triangle on the burlap and cut it out. I just guessed on this part. Trace the first triangle you made on the burlap and cut those out. I drew spring on them with just permanent marker and it turned out fine. Next, on the back of the triangles put hot glue on the top and lay the twine on it to glue it on. Continue with the others. I put them close together cause it didnt fit on the wreath.


Now lets do the flowers. What I did was arrange the flowers on the branch wreath like I did in the picture. I added butterflies with the flowers to add more spring to it.
 I kept adding flowers to make it even and to make sure there wasnt to much goin on. After I arranged the flowers I took my glue gun and started gluing the flowers. I just stuck the glue gun in the wreath and glued the stems to the branches. It took a whole stick of glue to do this so be patient.
After I glued it I tugged on each flower to make sure they were secure on the wreath.

When you finish the flowers add your birds or butterflies. Than add the banner however you want. I just hot glued it to the wreath.
Finished product. This was so much fun.
See you in the fall for the fall wreath. 

Sunday, April 26, 2015

Onigiri おにぎり

This is a traditional Japanese dish. Its called Japanese rice ball or Onigiri (おにぎり).
I made these a lot in my Japanese class and with my dad. They are so fun to make and you can stuff them with anything. For this recipe I stuffed it with teriyaki chicken and kewpie きゆぴ.
If you want something different you can add tuna, imitation, crab, avocado, ect...  
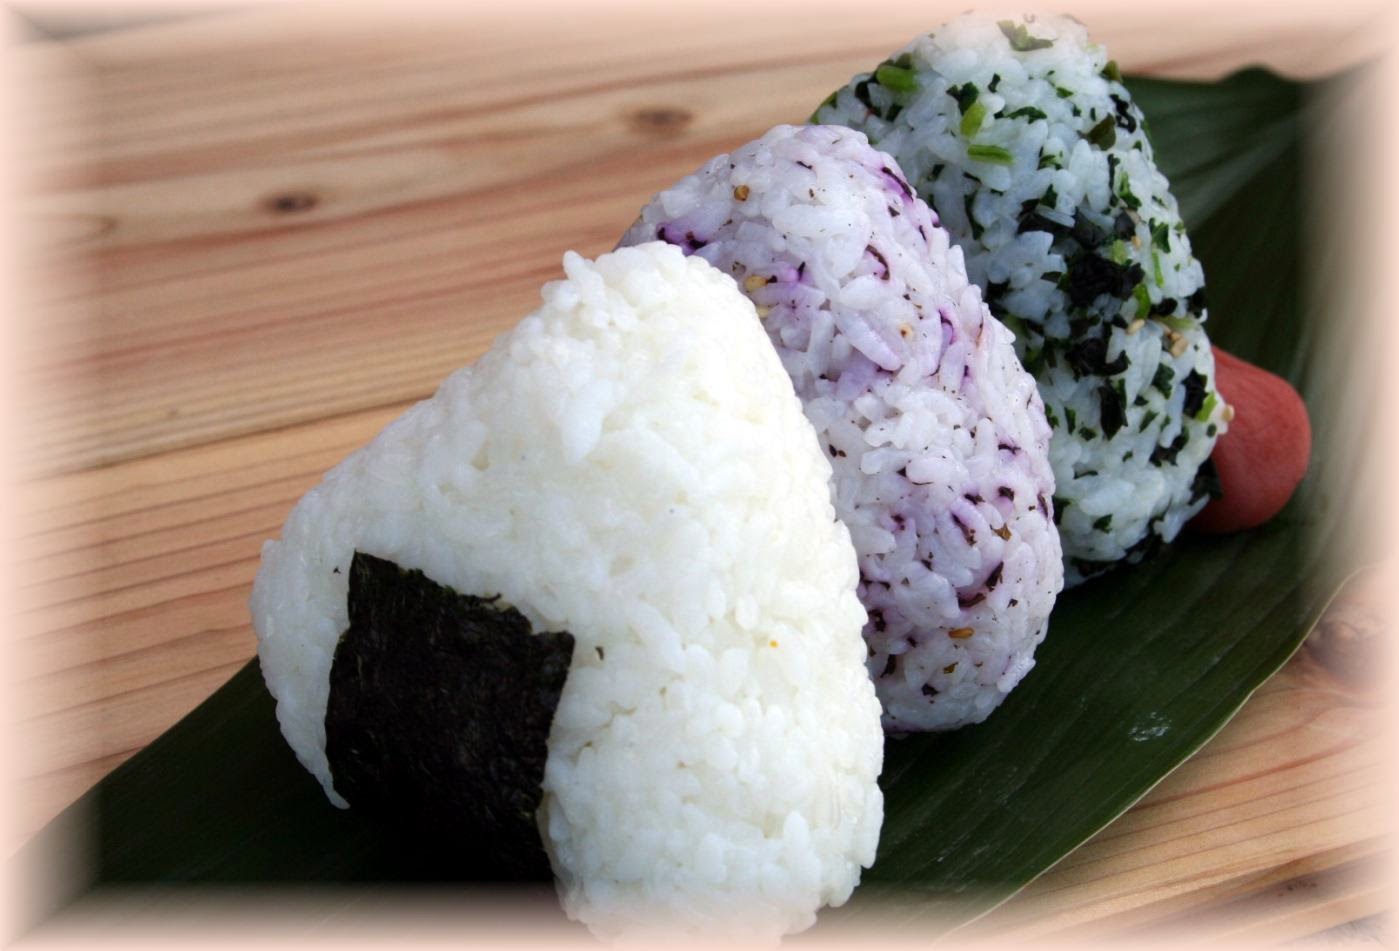
This is some mixed with furikake.
Also to add more flavor you can add Furikake ふりかけ (rice seasoning) in with the rice. They have all different flavors and its so delicious.
In Japan they do little cute drawings
with onigiri.
Also for the chicken I just cook chicken and add
 tonkatsuとんかつ sauce.
The pictures are made from experts. My version might be different than how other people do it.

What you'll need:

  • water ( to moist your hands so the rice wont stick to you)
  • sticky rice
  • seaweed (optional)
  • Filling (chicken, beef...)
  • Kewpie (Optional)
What to do:
First off cook your rice. Than put all of it in a seperate bowl and add furikake if desired. Use a rice spoon or a regular spoon and stir to cool it off and mix the furikake ふりかけ. When the rice has cooled soak your hands in water. Grab a handful of rice, form a ball and poke a hole in it forming a crater. Add the filling of your choice. Add a little more rice on top of that and work it in. You can form a ball or triangle as pictured. 


Now you can enjoy your homemade Japanese rice balls.
Mine don't look very good cause I didn't use sticky rice. They did taste really good though.


this is my version of a onigiri cartoon I drew
 いただきます
(lets eat)

Sunday, April 19, 2015

DIY: Summer wreath

Pinterest does it again. Its still a work in progress, I'm gonna update it slowly if I find that right thing to go with it. I got all the stuff at the dollar store.

What you'll need:

  • Paper umbrellas( the ones they put it drinks for decoration)
  • Styrofoam wreath ( wire wreath didn't work well)
  • Glue fun
What to do:


Start by opening the umbrellas; carefully. Than just stick them where you want on the wreath. Make sure you spread out the colors. 
Once you got that done cut the extra stick off if the umbrellas poked all the way through. 
Glue some of the top of the cut sticks. 


Update hopefully soon. 
Ill be makin a spring wreath here soon I just gotta get the stuff. 
The spring one will be a little late.


Thursday, April 2, 2015

Olive garden Gnocchi Soup (copycat)

I found this recipe on Pintrest and I got the motivation to cook it from my Mother in law. It took me about 2 hours to cook cause I boiled the chicken and I doubled the recipe. Also you might want to do exactly what it says and what it calls for.

What you'll need:
  • 2 Tbsp Olive Oil
  • 3/4 C onion, diced
  • 1/2 C carrots, diced
  • 1/2 C celery, diced
  • 4 cloves garlic, minced
  • 1/2 tsp sea salt
  • 1/4 tsp pepper
  • 1/3 C flour
  • 4 C chicken broth
  • 1 1/2 C fat-free half and half
  • 2 C cooked chicken breast, shredded
  • 1 (8oz) package potato gnocchi
  • 3 C fresh baby spinach, stems removed
  • 1 Tbsp fresh basil, chiffonade into thin ribbons
  • Fresh grated parmesan for serving
What to do:
  1. In a large pot fill it with water and boil chicken till done, or you can just cut it up and cook it. I like boiling it cause it makes it tender and juicy.
  2. In another large pot (I used my magnalite pan) add onion, carrots, celery, and garlic; season with salt and pepper and cook until tender firm, stirring. (approx 10 minutes)
  3. Sprinkle flour over vegetables, cook 3 minutes, stirring often.
  4. Slowly stir in chicken broth 1 C at a time, stirring constantly.
  5. Add the half and half, chicken, and simmer for 20 minutes, stirring often.
  6. In an additional sauce pan cook gnocchi according to package directions.
  7. Add gnocchi to soup with spinach, stir in.
  8. Cook spinach until slightly wilted, add basil, stir.
  9. Serve garnished with shredded parmesan.

.

.